Nail Your Helmet Brim Fit: A No-Nonsense Guide for Aussies
Stop squinting and start protecting. This guide shows you exactly how to fit your helmet brim for maximum sun, rain, and glare protection, essential for Australian conditions.
Nail Your Helmet Brim Fit: A No-Nonsense Guide for Aussies
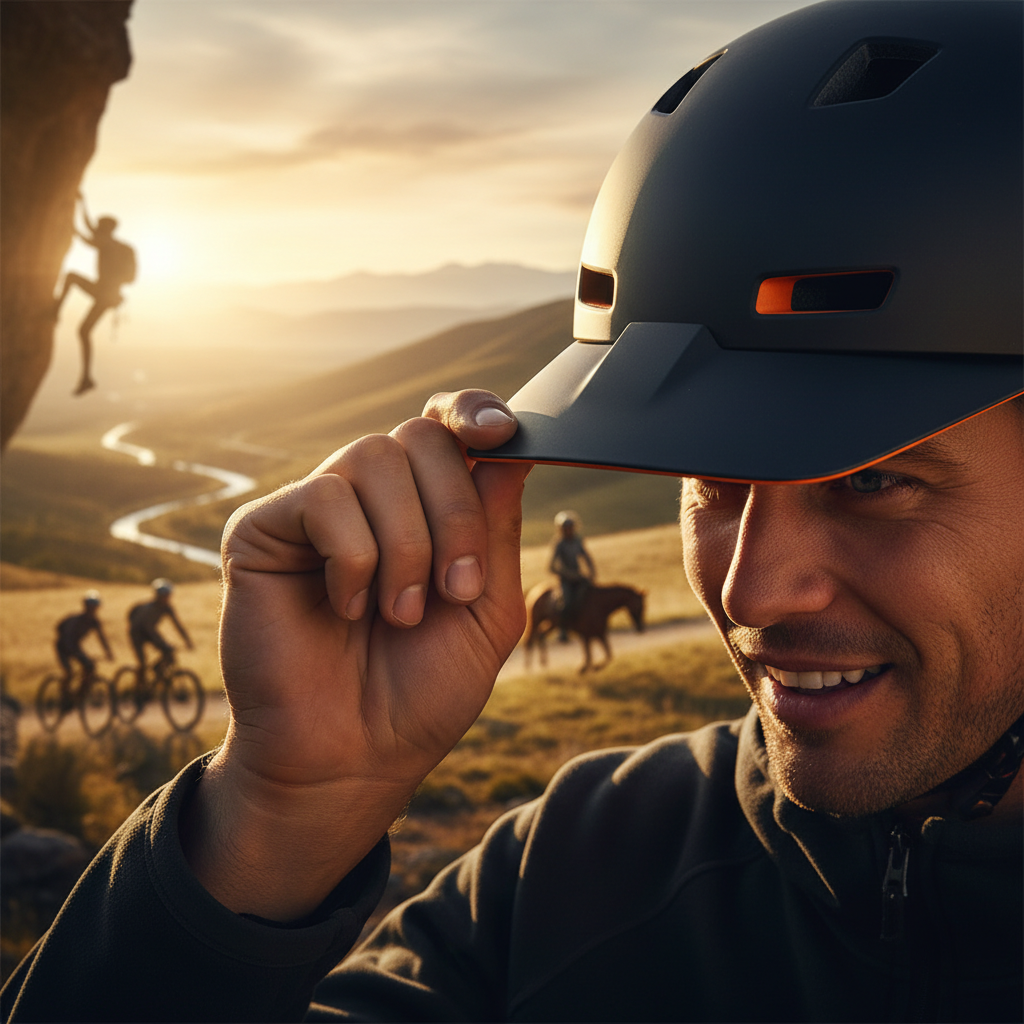
Let's cut to the chase. You've got a helmet. You've got a brim. But are they actually working together to keep the harsh Australian sun out of your eyes and off your face? If you're squinting through your ride, experiencing glare on your work, or just generally feeling like the sun's winning, it's time to talk about brim fit. This isn't about looking fancy; it's about practical, effective sun protection, especially crucial with our intense UV index and those long, hot days.
Why a Proper Brim Fit Actually Matters
We Aussies know the sun. It's relentless. That high UV index isn't a joke, and prolonged exposure, even when you're just cycling to the shops or working outdoors, can lead to more than just a headache. A well-fitted helmet brim isn't just an accessory; it's a vital piece of your personal protective equipment. It acts as a shield, deflecting direct sunlight, reducing glare, and offering a bit of protection from unexpected rain – think of it as your personal visor.
Getting the fit right ensures that the brim is doing its job effectively. Too high, and it's useless. Too low, and it obstructs your vision. The sweet spot is a balance that maximises shade without compromising your ability to see your surroundings, whether you're navigating busy streets or tackling a dusty track. For anyone spending time outdoors in Australia, from tradies on site to weekend warriors on their bikes, this is non-negotiable.
Common Brim Fit Pitfalls (and How to Avoid Them)
People often get this wrong. It's not rocket science, but there are a few common mistakes that render a brim less effective than it could be:
The 'Set and Forget' Trap: You slap it on and assume it's good. This is the number one killer of brim effectiveness. Your helmet's shape, your head's shape, and the brim's design all interact. It needs adjustment.
Blocking Vision: The most obvious mistake. If your brim is angled down so far that you can't see what's in front of you, you've created a hazard, not a solution.
Too High to Be Useful: Conversely, if the brim is angled so far up that it's essentially parallel to the ground, it's not shading your eyes or face at all.
Bad Placement: The brim needs to be positioned on your helmet correctly. Trying to force it into a spot it wasn't designed for undermines its structure and protective capabilities.
You're looking for functional shade, not a fashion statement that compromises safety. The good news is, it's usually a quick fix once you know what you're doing.
The Anatomy of a Good Brim Fit
Before we get into the 'how', let's establish what 'good' looks like. A properly fitted helmet brim should:
Provide shade for your eyes: This is primary. It should block direct overhead sun and glare from lower angles.
Offer some face protection: Depending on the brim's size, it can also shade your forehead and nose from UV rays.
Not obstruct your vision: You need to be able to see clearly in all directions relevant to your activity.
Be secure: It shouldn't wobble or detach easily, especially when you're moving.
Complement your helmet's existing design: It should integrate well and not throw off the helmet's balance or intended airflow.
Ready to Fit? Here's Your Step-by-Step Guide
This process is straightforward, but attention to detail is key. You'll want to do this when you're wearing your helmet as you intend to use it – whether that's with other headwear, or just directly on your head.
Step 1: The Base Fit (Helmet First)
Before you even think about the brim, ensure your helmet itself is fitted correctly. A loose or poorly fitting helmet is a safety risk, brim or no brim. Your helmet should sit level on your head, about two finger-widths above your eyebrows. It should feel snug but not uncomfortable, and it shouldn't move around when you shake your head.
Step 2: Attach Your Brim (If Applicable)
If you're using an attachable brim, follow the instructions for your specific product. For instance, our products are designed for easy attachment. Ensure all clips, straps, or fasteners are engaged correctly. It should feel solid and integrated with the helmet.
Step 3: The Mirror Test - Angle Adjustment
This is where the magic happens. Stand in front of a mirror, wearing your helmet with the brim attached.
The 'Look Up' Check: Tilt your head back slightly as if you were looking up at a tall building or a high shelf. Does the brim still provide shade for your eyes? If it's angled so far up that you can see sky directly over the brim's edge, it might be too high.
The 'Look Down' Check: Now, tilt your head forward slightly, as if you're looking down at your feet or the ground ahead of you. Does the brim obstruct your downward vision? If you can't see the ground within a reasonable distance in front of you, it's too low.
The 'Forward Gaze' Check: Look straight ahead. The brim should be positioned so that when you're looking forward, it effectively shades your eyes from direct sun without lifting your chin unnaturally high or forcing you to duck your head.
Step 4: The 'Ride/Work' Simulation
If possible, simulate the position you'll be in during your activity. If you're a cyclist, lean forward into a riding position. If you're working, stand as you normally would. Check your vision and the level of shade again. The angle that looks good standing upright might feel different when you're more engaged in your task.
Step 5: Fine-Tuning the Angle
Most helmet brims, including ours, allow for some angle adjustment. This might be via flexible material, adjustable straps, or carefully designed mounting points. Gently adjust the angle of the brim until you find that sweet spot: good shade when looking forward, good visibility when looking down, and no dramatic obstruction when looking up.
Step 6: The 'Shake Test'
Once you think you've got it, give your head a few good shakes side-to-side and forwards/backwards. Does the brim stay put? Does it feel secure? A brim that shifts or loosens as you move is a nuisance and a potential safety issue.
A Quick Checklist for the Perfect Fit
Print this out, save it, whatever you need to do. This is your go-to reference:
[ ] Helmet fits snugly and level on your head.
[ ] Brim is securely attached.
[ ] Brim shades your eyes when looking straight ahead.
[ ] Brim does NOT obstruct your forward vision (you can see the ground a reasonable distance ahead).
[ ] Brim does NOT significantly obstruct upward vision (you can still see sky/high objects without excessive head tilt).
[ ] Brim feels secure and doesn't shift during head movements.
[ ] Brim integrates well with your helmet without compromising its structure.
Table: Brim Fit Visual Guide
| Visual Cue | Issue | Correction |
|---|---|---|
| Brim covers your eyebrows and more. | Too Low: Vision Obstruction | Tilt brim up slightly. Reduce helmet tilt forward. |
| You can see sky directly over brim. | Too High: Insufficient Shade | Tilt brim down slightly. Forward helmet tilt may need adjustment. |
| Brim feels loose or wobbly. | Poor Attachment/Security | Re-secure brim. Check fasteners/straps. Ensure correct mounting point. |
| Brim is flush with forehead. | Potentially Too Low (depending on angle) | Adjust angle to ensure forward shade, check downward visibility. |
Frequently Asked Questions (We've Got You Covered)
Q: Can I adjust the brim on any helmet?
A: Not all helmets are designed to accommodate brims, and not all brims attach to all helmets. Our products are specifically designed to integrate with a range of helmets, and we provide clear instructions on How to Install. Always check compatibility.
Q: Will a brim make my helmet too hot?
A: While it adds a layer, a well-designed brim should not significantly impede airflow. Our brims are designed with this in mind, focusing on function without creating a sauna. Remember, the shade it provides will often make you feel* cooler by reducing direct sun on your head and face.
Q: I wear glasses. Does this change how I fit the brim?
A: Yes, slightly. When fitting, wear your glasses and ensure the brim shades your eyes without interfering with the glasses' frame or causing new glare points. The goal is still to keep the sun off your eyes, which will also help prevent glare from hitting your lenses directly.
Q: What if my helmet has a built-in brim?
A: Helmets with integrated brims are designed with a fixed angle. If you find it provides insufficient shade or obstructs vision, you may need to consider if that particular helmet is the best fit for your needs in Australian conditions. Sometimes, an add-on brim offers more adaptable protection. See our range of products for options.
Q: How often should I check my brim fit?
A: Ideally, check your brim fit every time you put your helmet on, especially if you've removed it and reattached it. Quick adjustments can make a big difference. Regular checks are part of good safety practice, just like making sure your helmet straps are adjusted correctly. For more detailed questions, our FAQ is a great resource.
Conclusion: Don't Let the Sun Win
Getting your helmet brim fit right is a simple yet critical step in protecting yourself from the Australian sun. It’s about practicality, effectiveness, and ensuring you can focus on your activity without being blinded by glare or beaten down by UV. Don't ride or work with a poorly fitted brim. Take a few minutes, follow these steps, and ensure your headwear is providing the best possible protection. For more insights and to explore our range of solutions, check out our products page, or head to our blog for more tips.