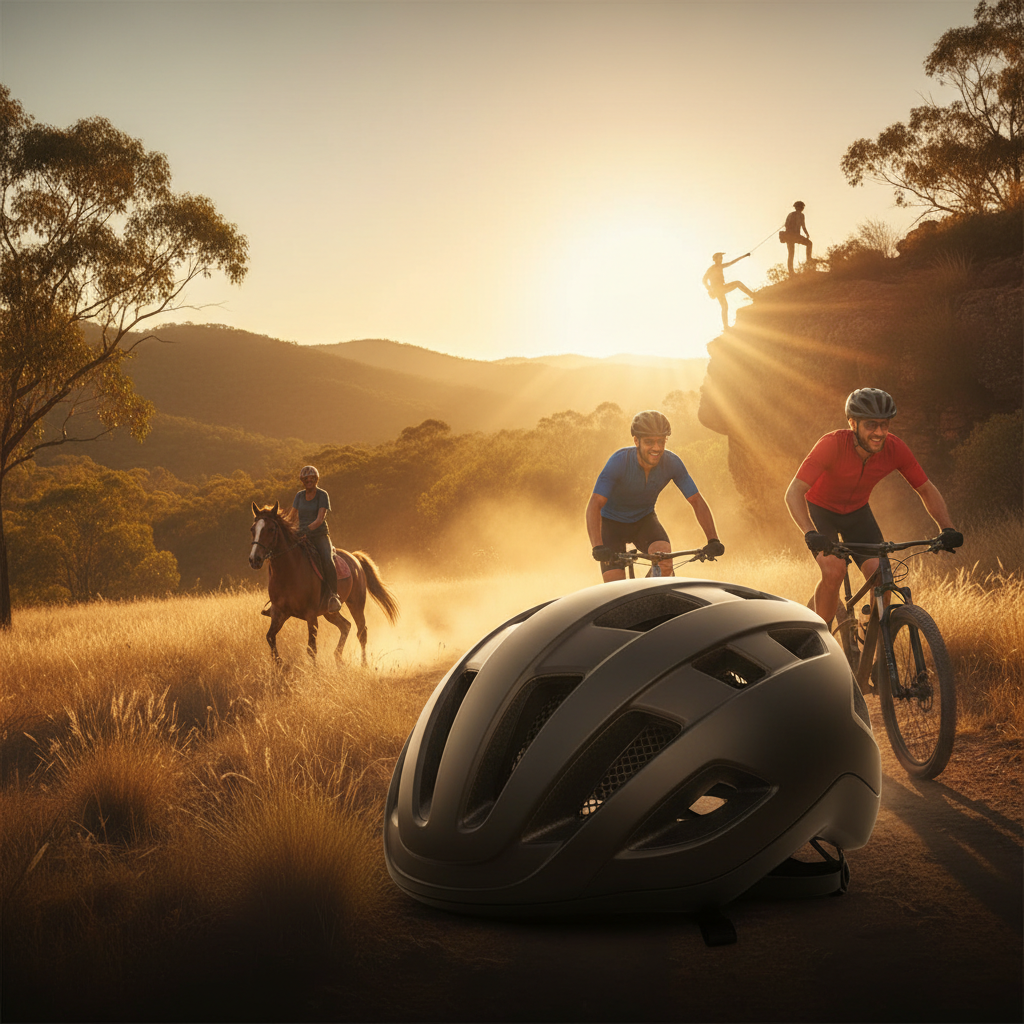
Helmet Brims: Built-in vs. Add-on - Which is Best for Aussie Sun?
Choosing the right sun protection for your helmet? Understand the pros and cons of built-in brims versus add-on solutions for tough Australian conditions. Get practical advice before you buy.
Helmet Brims: Built-in vs. Add-on – Which is Best for Aussie Sun?
Living in Australia means living with relentless sun. Whether you're commuting, hitting the trails on your bike, or working outdoors, protecting your face and neck from damaging UV rays is non-negotiable. Your helmet is your first line of defence, but how much sun protection can it offer? That's where helmet brims come in. But what's the difference between a helmet with a built-in brim and an add-on solution? And which one is right for you?
This isn't about fancy jargon. This is a practical, no-nonsense look at your options, designed to help you make a smart choice for staying safe and comfortable under our harsh Aussie sun. We'll unpack the pros and cons, and help you decide what's going to give you the best coverage and value.
The Problem: Australian Sun Doesn't Play Around
Let's be blunt. The Australian sun is intense. We contend with high UV indexes for much of the year, long daylight hours that stretch your exposure, and heat that can make you feel like you're baking. Even when it's cloudy, UV rays penetrate.
Your helmet, while crucial for impact protection, often leaves significant areas of your face, ears, and neck exposed. This means risking:
Sunburn: Painful, damaging, and increases skin cancer risk.
Premature Aging: Wrinkles, sunspots, and leathery skin.
Eye Strain: Glare can impact vision and cause discomfort.
Heat Stress: Direct sun on your head and face can contribute to overheating.
This is why sun protection for your helmet isn't a luxury; it's a necessity.
Helmet Brims: The Two Main Approaches
When it comes to adding brim-like sun protection to your helmet, you generally have two paths: helmets designed with integrated brims, or aftermarket solutions you attach yourself.
Option 1: Helmets with Built-in Brims
Some helmets are manufactured with a permanent, integrated brim or visor. Think of sports like cycling where you see wider visors on some helmets, or even construction helmets that come with a fixed peak.
Pros:
Seamless Integration: They look like part of the helmet. No fuss, no assembly.
Potentially Enhanced Aerodynamics (for some designs): Manufacturers aim to integrate these features smoothly.
No Risk of Falling Off: Being permanently attached, they won't detach during use.
Cons:
Limited Choice: You're restricted to specific helmet models that come with this feature. This might mean compromising on other aspects of the helmet like fit, ventilation, or overall design.
Fixed Coverage: The brim is usually a set size and angle. It might not be adjustable for your specific needs or different sun angles throughout the day.
Ventilation Issues: Integrated brims can sometimes obstruct airflow, making the helmet hotter and less comfortable, especially in the Australian climate.
Can be Less Versatile: If the brim is too large or shaped awkwardly, it might be more of a hindrance than a help in certain situations or for different activities.
Cost: Helmets with integrated brims can sometimes be more expensive, especially if those features are bundled with high-end models.
Option 2: Add-On Helmet Brim Solutions
These are separate pieces designed to attach to your existing helmet. They're often made of flexible materials and clip onto or strap around the helmet's edge.
Pros:
Versatility & Compatibility: This is the big one. You can often add a brim to YOUR current helmet, the one you already know fits well and is comfortable. This means you don't have to replace your entire helmet just to get better sun protection. Many designs are compatible with a wide range of helmet types. Check out Products to see options.
Customisable Coverage: Some add-on brims offer adjustable angles or can be easily removed or swapped out for different conditions.
Improved Ventilation: Because they aren't integrated into the helmet shell, they often allow for better airflow compared to some built-in designs.
Cost-Effective: Often significantly cheaper than buying a whole new helmet with an integrated brim.
Ease of Use: Designed for quick attachment and detachment. Learn How to Install – it's usually a breeze.
Upgrades Existing Gear: You enhance the protection of gear you already own and trust.
Cons:
Attachment Security: The biggest concern for many people. Will it stay on at speed? During a jolt? Reputable add-on brims are designed for this, but it's a valid question. Poorly designed ones can be a risk. We'll discuss this more. This is a key area where quality matters.
Aesthetics: An add-on might not look as seamlessly integrated as a built-in brim. For some, this is a deal-breaker. For others, face protection trumps fashion.
Potential for Snagging: Depending on the design and how it's attached, there's a slim chance of it catching on something if it protrudes significantly.
Direct Comparison: Built-in vs. Add-on
Here's a quick breakdown to help you see the differences side-by-side:
| Feature | Built-in Helmet Brims | Add-On Helmet Brims |
|---|---|---|
| Flexibility | Low (fixed design) | High (can add to existing helmet, sometimes adjustable) |
| Compatibility | Only with specific helmet models | Broad range of helmet types (check specs) |
| Installation | Comes pre-installed | Requires user attachment (usually simple) |
| Ventilation | Can sometimes reduce or obstruct airflow | Generally allows for better airflow |
| Cost | Can be higher, tied to helmet price | Typically more affordable |
| Sun Coverage | Fixed; might not be optimal for all angles | Can be more adaptable; some offer adjustability |
| Aesthetics | Seamless, looks integrated | Can look like an addition; varies by design |
| Retention | Non-issue (permanently attached) | Critical; depends on design & attachment method |
Addressing Common Objections to Add-On Brims
We get it. The idea of clipping something onto your helmet can raise eyebrows. Here are the usual concerns and why they often aren't issues with quality products:
“It'll fall off!”
This is the classic objection. However, reputable add-on brims are engineered with secure attachment systems. Think robust clips, adjustable straps that grip firmly, and designs tested under stress. If you’ve seen a cheap novelty one fly off, that's not representative of well-made gear. The DA BRIM, for instance, is designed for a secure fit to prevent this. See Products.
“It’ll be loose and annoying.”
A good add-on brim integrates well. It shouldn't wiggle or feel like a separate piece flopping around. When properly installed, it becomes a stable extension of your helmet. Installation guides like How to Install are there for a reason – follow them for best results.
“It’ll look terrible.”
This is subjective, of course. Some people prioritise function over form. However, many add-on brims are designed to be relatively low-profile and sleek. They’re less about looking like a fashion statement and more about providing practical, essential sun protection. If a slightly altered look means zero sunburn on your face and neck, it's a trade-off most Aussies are willing to make.
“It’ll compromise helmet safety.”
A well-designed add-on brim attaches to the exterior without interfering with the helmet’s structural integrity or its ability to absorb impact. Most attach to the helmet's edge or vents, areas not critical for impact dispersion. Always ensure your primary helmet meets Australian safety standards – the brim is an accessory, not a core safety component.
Why Add-On Brims Often Win for Australian Conditions
When you factor in the unique challenges of Australia, add-on brims often present the more practical and effective solution:
1. Adapting to UV Index Fluctuations:
Our UV index can change daily, even hourly. With some add-on brims, you can adjust them or even remove them if the sun isn't intense or if you're in a shaded area. This is flexibility you don't get with fixed, built-in brims.
2. Long Daylight Hours & Sun Angle:
Summer days are long. The sun sits lower in the sky for extended periods, especially in the morning and late afternoon. A helmet with a fixed brim might not cast shade effectively at these angles. An adjustable add-on brim can be angled to provide optimal shade throughout the day. Even a standard add-on brim is often designed with a broader sweep than many integrated visors.
3. Heat Management:
Australian heat is no joke. Helmets with poor ventilation become ovens. Add-on brims are often designed to minimise any airflow obstruction. They attach to the outside, allowing your helmet's vents to do their job, keeping you cooler and more comfortable. This is critical for extended rides or work.
4. Cost-Effectiveness & Value:
Investing in a good helmet is essential. But if that helmet isn't offering enough sun protection, replacing it with a top-tier model that does might be out of reach or unnecessary. An add-on brim provides a significant upgrade to sun protection for a fraction of the cost of a new helmet. See Products for value options.
5. Personalisation for Your Helmet:
You know your helmet. You know how it fits, how it feels, and how it vents. An add-on allows you to enhance that specific helmet. You don't need to find a whole new helmet that ticks all the boxes for fit, comfort, and sun protection, which can be a difficult and expensive search.
How to Choose a Good Add-On Brim:
Not all add-on brims are created equal. Here's a checklist:
Attachment System: Is it robust? Does it use clips, straps, or a combination? Look for secure, non-slip designs.
Material: Flexible yet durable materials are best. They need to withstand sun, rain, and the occasional drop without cracking.
Coverage Area: Does it offer enough shade for your face, nose, and optionally, ears and neck?
Ventilation Impact: How much does it appear to block helmet vents?
Helmet Compatibility: Check if it's explicitly designed for your type of helmet (cycling, construction, adventure, etc.).
Reviews: What are other users saying, particularly in similar climates to Australia?
Ease of Installation/Removal: You want it to be simple.
Practical Steps to Enhance Your Sun Protection:
1. Assess Your Current Helmet: Does it offer any inherent sun protection? Is your face exposed?
2. Define Your Needs: What activities do you do? How much sun exposure do you typically get? Are you particularly sensitive to sunburn?
3. Research Add-On Options: Look for products designed for security and coverage. Reference the Products page.
4. Check Installation Guides: Familiarise yourself with How to Install before you buy.
5. Install Correctly: Follow the instructions to the letter for a secure fit.
6. Test It: Go for a short ride or walk. Feel for any looseness, movement, or discomfort.
7. Adjust as Needed: If your brim is adjustable, fine-tune the angle for optimal shade.
8. Maintain It: Keep your brim clean and check the attachment points regularly.
Final Verdict: Add-On Brims Often Reign Supreme for Aussies
For most Australians seeking practical, effective, and affordable sun protection for their helmets, an add-on brim solution is often the superior choice.
Why? Because it offers unparalleled versatility. You can enhance the gear you already have, adapt to changing sun conditions, manage heat better, and do it all without breaking the bank. While built-in brims have their place, they often come with compromises in choice and flexibility that are harder to overcome under the intense Australian sun.
Don't let our beautiful country bake you. Invest in reliable sun protection for your helmet. Check out our range at Products and read more practical advice on our Blog or visit our FAQ if you have more questions.
Stay safe, stay shaded.