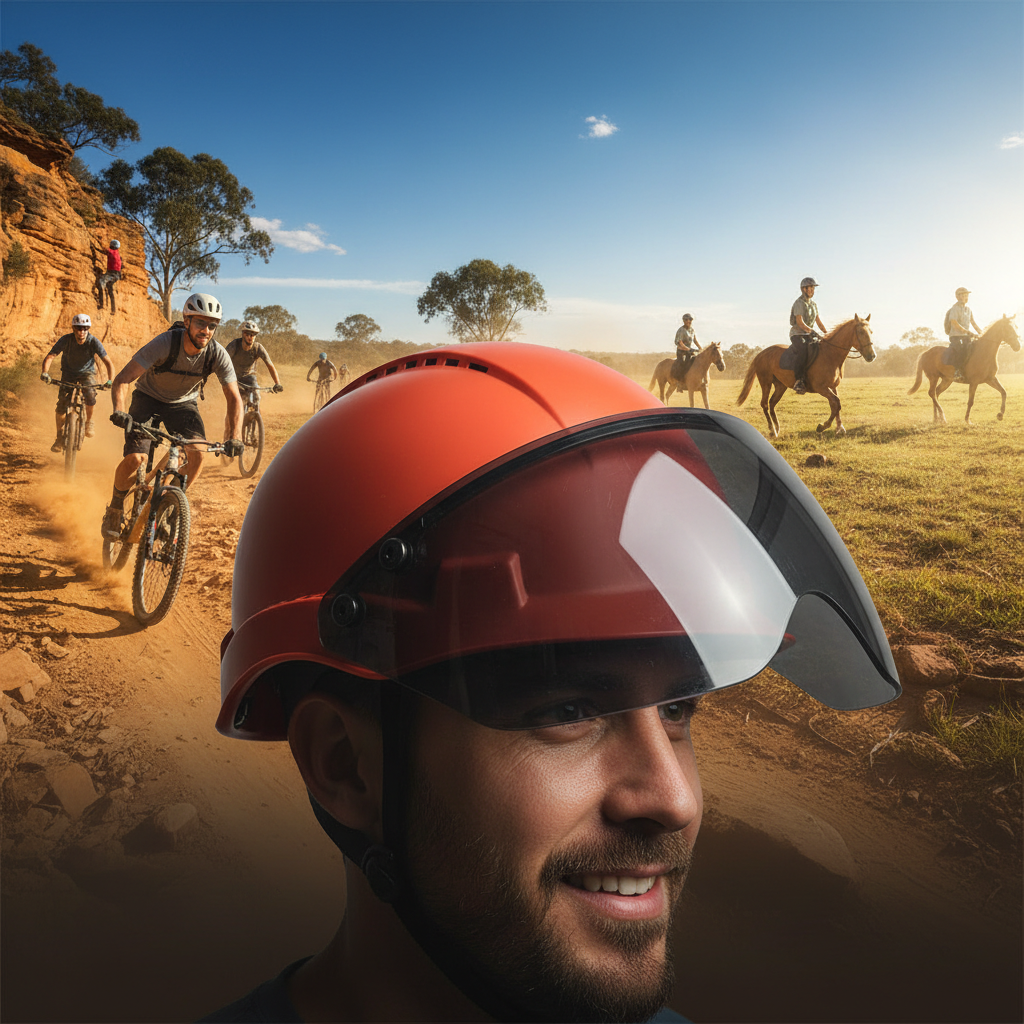
Helmet Accessories & Safety: Do They Void Your Warranty or Rating?
When you add accessories to your helmet, does it compromise its safety? We cut through the jargon on Australian standards and practical advice for helmet wearers.
Helmet Accessories and Safety Ratings: The Blunt Truth
You've got your helmet. It’s a vital piece of safety gear for your work, your ride, or your weekend adventures. But let's be honest, Australia throws some serious sun and heat at us. We’re talking high UV indexes, long days under a brutal sun, and the need for more than just basic head protection. Enter helmet accessories. Think sun brims, cooling inserts, communication devices, extra lights.
It's a fair question: do these additions mess with the safety rating of your helmet? Does slapping on a bit of extra plastic or fabric void the certification and leave you less protected than you think?
The answer isn't a simple yes or no. It's nuanced. But for practical purposes, for people working and playing under the harsh Australian sun, understanding the basics is crucial.
What the Standards Really Say (and Don't Say)
Australian safety standards for helmets, like AS/NZS 1801 for industrial safety helmets or AS/NZS 2063 for bicycle helmets, are primarily concerned with impact protection, penetration resistance, and how the helmet performs in a crash. They specify materials, construction methods, and testing procedures to ensure a baseline level of safety for the intended use.
*Crucially, these standards don't typically cover every single aftermarket accessory you might attach. They focus on the helmet's core protective shell, suspension system, and chin strap.
However, this doesn't mean you can just stick anything anywhere. Here’s why:
The Principle of Interference: Any accessory that modifies the helmet’s structure or how it fits can potentially compromise its performance. If an accessory weakens the shell, interferes with the energy absorption system, or changes how the helmet distributes impact forces, it could negatively affect its safety rating and effectiveness.
Manufacturer Warnings: Most helmet manufacturers issue warnings about modifying their products. These aren't just bureaucratic niceties. They're there because modifications can degrade performance. Tampering with the helmet's integrity often voids the manufacturer's warranty and, by extension, their assurance of the safety rating.
Common Accessories and Their Potential Impact
Let's break down some common accessories and look at them pragmatically:
1. Sun Brims (Like Da Brim)
These are designed to extend the shade provided by a helmet, offering much-needed protection against solar radiation and glare, especially important in Australia with its consistently high UV levels. A good quality, properly designed brim, like those designed to integrate with helmet mounting systems, aims to add shade without compromising the structural integrity or fit of the helmet.
Considerations:
Attachment Method: How does it attach? Does it require drilling holes? Drilling holes in a helmet shell is generally a bad idea and a definite way to compromise its protective capabilities.
Weight and Balance: Does it add significant weight or unbalance the helmet, making it more likely to shift or be uncomfortable, especially on windy days?
Material: Is it made of a flexible material that won't create hard points on impact?
Design Integration: Is it designed to work with the helmet's existing structure?
Our Take: Accessories designed to attach securely without altering the helmet's core shell (e.g., using existing vents or specific clips) are generally considered low-risk. Da Brim, for instance, is designed to clip onto various helmet types without altering the shell structure, focusing on adding shade rather than structural support. Always check manufacturer guidelines for specific helmet models.
2. Cooling Inserts/Pads
These can be a lifesaver in the heat of an Australian summer. They range from simple sweatbands to more advanced evaporative cooling materials.
Considerations:
Bulk: Do they add so much bulk that they make the helmet fit poorly or prevent the suspension system from working correctly?
Material: Are they made of rigid materials that could create pressure points or interfere with impact absorption in a crash?
Adhesion: If they stick to the helmet, will the adhesive degrade the helmet material over time?
Our Take: Most fabric-based cooling inserts that fit within the helmet liner are unlikely to pose a significant risk, provided they don't disrupt the fit or the suspension system. Avoid anything that rigidly attaches to the inside of the shell.
3. Communication Systems (Headsets, Microphones)
Essential for many industries and recreational activities, these often involve attaching components to the helmet.
Considerations:
Drilling: Again, do they require drilling?
External Protrusions: Do they add sharp or rigid external components that could catch on something or increase injury risk in a fall?
Weight: Does the unit significantly alter the helmet's balance?
Our Take: Many communication systems are designed with clip-on or strap-based attachments that avoid shell damage. Assess each system individually. Prioritise those that don't require permanent modification.
4. Lights and Cameras
For visibility or recording purposes, these are increasingly popular.
Considerations:
Mounting: How are they attached? Drilling is a major no-no. Strong adhesives can also be problematic if they damage the helmet material.
Shear Points: Do they create potential shear points in a crash, or could they snap off and become a projectile?
Weight/Balance: Can significantly affect how the helmet sits and performs.
Our Take: Look for systems that use existing mounting points, vents, or non-damaging clips. Be extremely cautious with adhesives. For many helmets, official mounting brackets are the safest bet.
The 'No Drilling' Rule: A Golden Guideline
The single most important piece of advice for any helmet user, especially in demanding Australian environments, is: DO NOT DRILL HOLES IN YOUR HELMET SHELL.
A helmet's shell is designed to be a continuous, impact-distributing surface. Any hole you make pierces this integrity. It creates a weak point where impact forces can concentrate, rather than spread across the shell. This applies to industrial helmets, bicycle helmets, motorcycle helmets – all of them.
A Practical Checklist for Accessory Installation
Before you attach any accessory to your helmet, run through this quick checklist:
Manufacturer's Stance: What does the helmet manufacturer say about accessories? Check their website or the product manual. Often, they’ll have a specific policy.
No Drilling, No Cutting: Does the accessory require you to modify the helmet shell itself?
Secure Attachment: Is the accessory firmly attached, or could it easily detach and become a hazard?
No Interference: Does it prevent the helmet from sitting correctly on your head?
No Impact on Suspension: Does it impede the function of the internal suspension or cradle system?
No Sharp Edges: Does the accessory introduce sharp or protruding edges that could cause injury?
Weight Distribution: Does it add significant weight or unbalance the helmet?
Material Safety: Is the accessory made from a material that won't degrade or react negatively with your helmet?
Check Australian Standards Compliance: While standards don't cover accessories directly, be aware that major modifications could technically invalidate the helmet's original certification.
A concise table to summarise:
| Accessory Type | Primary Concern(s) | Recommendation |
|---|---|---|
| Sun Brims | Shell integrity, fit, balance | Use designs that clip on without drilling; ensure good fit. |
| Cooling Inserts | Fit, suspension interference, material rigidity | Fabric-based, liner-fitting inserts are generally safe. Avoid rigid attachments. |
| Comms Systems | Drilling, protrusions, weight, attachment security | Opt for non-drilling attachment methods; secure units firmly. |
| Lights/Cameras | Drilling, adhesives, weight, balance, shear risk | Use official mounts or non-damaging clip systems. Avoid strong adhesives. |
How to Install Accessories Safely (The Right Way)
When you decide to add an accessory, follow these steps to minimise risk:
1. Research the Accessory: Look for accessories specifically designed to be compatible with your helmet type or brand. Read reviews, especially from users in similar environments (e.g., hot, sunny Australia).
2. Consult Helmet Manufacturer: If unsure, contact the helmet manufacturer directly. They can provide specific guidance on what they deem acceptable.
3. Prioritise Non-Invasive Attachment: Look for accessories that use existing features like vents, clips, or adjustable straps. Ensure they don't require drilling, cutting, or adhesives that might damage the helmet shell or lining.
4. Achieve a Secure Fit: The accessory must attach firmly. It should not move around during use, nor should it detach during impact.
5. Test the Fit and Balance: Put on the helmet with the accessory attached. Does it feel comfortable? Does the helmet still sit level on your head? Adjust straps as needed. Significant changes in how the helmet sits can indicate a problem.
6. Ensure No Compromised Suspension: Make sure the accessory does not interfere with the helmet's internal harness or suspension system. This system is critical for absorbing shock and distributing impact forces.
7. Inspect Regularly: Periodically check the accessory and its attachment points for wear and tear, especially after periods of harsh UV exposure or extreme heat. Ensure the attachment is still secure and hasn't degraded.
What About Those 'Official' Accessories?
Many helmet manufacturers offer their own range of accessories. These are often the safest bet. They are designed and tested by the people who know your helmet best. If your helmet is designed with specific mounting points for a sun brim or light, using that system is almost always the recommended approach. You can often find compatible accessories in our Products section.
The Bottom Line
Adding accessories to your helmet can affect its safety performance and potentially void its rating if done incorrectly. The key is to be pragmatic and informed.
Prioritise safety over convenience.
Say no to drilling or cutting.
Opt for accessories designed for secure, non-damaging attachment.
Always check manufacturer guidelines.
Test the fit and comfort.
If you’re looking for practical solutions to enhance your helmet's functionality, especially for sun protection in Australia, explore options that integrate without compromising the helmet’s fundamental safety design. For guidance on installing your Da Brim or other accessories, check out our How to Install guide. If you have more specific questions, our FAQ has answers, or you can always browse our selection of thoughtfully designed Products.
Remember, your helmet is your first line of defence. Treat it with respect, and add to it wisely. For more practical tips and news, head to our Blog.