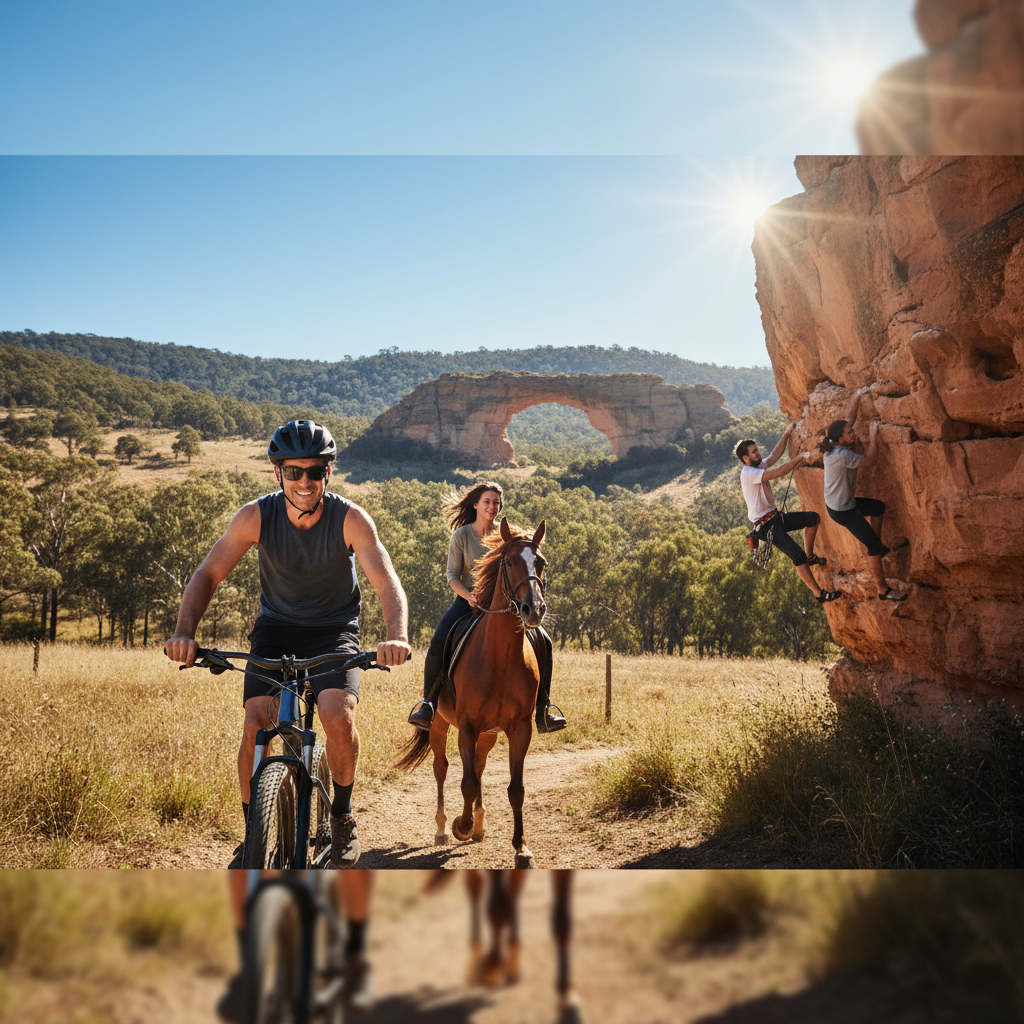
Cycling in the Aussie Sun: Are You Really Covered?
You're kitted out, helmet on, ready to ride. But is your helmet giving you enough sun protection? We break down the real UV risks for Australian cyclists and how to stay safe.
Cycling in the Aussie Sun: Are You Really Covered?
You're a cyclist. You wear a helmet. Good start. But when you're out on the roads and trails of Australia, just wearing a helmet doesn't automatically mean you're protected from the harsh UV rays. We're talking about real, daily risks, not just the one-off beach trip.
Australia is notorious for its high UV levels. Even on cloudy days, UV radiation can penetrate. For cyclists, this is a significant, often overlooked, concern. Your head, face, ears, and neck are directly exposed, not just by the sun above, but by reflected UV from the road, water, and even the ground.
The Silent Threat: UV Exposure on Your Ride
We're not here to scare you, but we are here to be straight up. The sun Down Under means business. Here's what you need to know about UV exposure risks for cyclists in Australia:
High UV Index: Australia consistently has one of the highest UV indexes in the world. The sun's rays are strongest between 10 am and 3 pm, precisely when many of us are out for our rides. A UV Index of 3 or higher means sun protection is needed. In many parts of Australia, we routinely see readings of 6, 7, 8, and even higher.
Cumulative Damage: Sun damage isn't always about getting burnt. It's about cumulative exposure over time. Every hour you spend in the sun without adequate protection adds up, increasing your risk of premature skin aging (think wrinkles and sun spots) and, more critically, skin cancer.
Vulnerable Areas: Your scalp, ears, and the back of your neck are prime targets. These areas are often poorly protected by standard helmets, especially the sides and the nape of the neck. Those who shave their heads, or have thinning hair, are particularly at risk on their scalp.
Heat Exhaustion & Dehydration: While not directly UV damage, the Australian heat often accompanies high UV. Prolonged exposure can lead to heat exhaustion and dehydration, compounding the risks of your ride.
Glare and Vision Impairment: Intense sunlight can cause glare, making it harder to see road hazards, cars, or other cyclists, which is a safety risk on its own.
Why Your Standard Helmet Isn't Enough
Let's be blunt. Most cycling helmets are designed for impact protection, not comprehensive sun coverage. They have vents to keep you cool, which is great, but these also let UV rays in. The visor on a mountain bike helmet offers some shade, but it's often insufficient for road cyclists and doesn't cover the ears or neck.
Think about it: how much of your face, neck, and ears is truly covered by your standard road helmet when the sun is beating down from the side or behind you?
This is where people sometimes push back. "I wear sunscreen!" Yes, that's part of it. But sunscreen washes off, sweats off, and needs constant reapplication, especially on a long ride or in humid conditions. And are you consistently applying it to those hard-to-reach spots like the back of your neck and your ears? It's easy to miss, or it wears off faster than you think.
The Practical Solution: Adding Effective UV Protection
You need a practical, reliable way to shield yourself. That's where a good helmet brim comes in. It's not about reinventing the wheel; it's about enhancing what you already use.
A quality helmet brim attaches securely to your existing helmet, providing a significant extension of shade over your face, ears, and neck. It’s designed to work with ventilation, not against it. Crucially, it offers consistent protection without the hassle of reapplying sunscreen every hour. This is about a simple, effective add-on that makes a real difference.
What to Look For in a Helmet Brim:
Coverage: Does it actually shade your face, ears, and neck?
Attachment: Is it secure and easy to fit?
Durability: Can it withstand the elements and regular use?
Compatibility: Will it fit your helmet?
We’ve seen a lot of riders try makeshift solutions. While well-intentioned, these often fall off, don't provide adequate coverage, or look… well, let's just say they’re not ideal. A purpose-built brim is a smart investment in your long-term health and comfort.
Putting It Into Practice: Your Sun Safety Checklist
Being sun-smart on your bike is a habit, just like checking your tyre pressure. Here’s a simple checklist to ensure you’re covered:
Check the UV Index Before You Ride: Use a weather app or your local BOM service. If it's 3 or above, take precautions.
Wear a Helmet with Adequate Coverage: Ensure your helmet fits well and consider adding a brim for enhanced protection.
Supplement with Sunscreen: Apply a broad-spectrum SPF 30+ sunscreen to any exposed skin before you ride, and carry it for reapplication on longer or more intense rides.
Consider Other Protective Gear: Sunglasses that block UV, arm sleeves, and neck gaiters can offer additional protection.
Hydrate: Drink plenty of water before, during, and after your ride, especially in hot Australian conditions.
Plan Your Ride: If possible, schedule rides for early morning or late afternoon to avoid peak UV hours.
Seek Shade: Take breaks in shaded areas.
Installing Your Extra Shade: A Step-by-Step Guide
This is the easy part. We've designed our brims to be incredibly versatile and simple to attach. No tools, no fuss. If you've got a helmet, you can add more shade.
Here’s how to get your Da Brim helmet brim installed:
1. Gather Your Gear: You’ll need your helmet and your Da Brim. Make sure you have the correct size brim for your helmet type (e.g., road, mountain bike, commuter).
2. Prepare Your Helmet: Ensure the helmet surface where the brim will attach is clean and dry. This helps the attachment mechanism grip effectively.
3. Position the Brim: Place the Da Brim onto the front of your helmet. Align it so that it provides the desired amount of shade over your face and eyes. The adjustable straps are key here.
4. Secure the Straps: Most Da Brims use a system of adjustable straps that go around your helmet. Tighten these straps firmly but without distorting your helmet's shape. They should be snug enough that the brim won't easily move or lift with wind.
5. Check for Stability: Gently tug on the brim to ensure it's securely attached. Ride around a bit and see if it stays put. Re-adjust the straps if necessary.
6. Enjoy Your Ride: You're now significantly better protected from the sun's harsh rays, allowing you to focus on enjoying your ride without constant worry.
For more detailed instructions specific to different helmet types, check out our How to Install guide.
Common Objections Handled
We hear it all. Here are some common concerns and our straightforward take:
"It'll look silly." Let's reframe this: is it sillier to get sunburnt, age your skin prematurely, or increase your risk of skin cancer? Functionality and health trump a fleeting fashion statement every time, especially when the solution is designed to be sleek and adaptable. Plus, think of the pros who wear them – they’re focused on performance, not just looks.
"It will blow off in the wind." Not if it’s installed correctly on a compatible helmet. Our design uses secure strapping to keep it firmly in place, even in breezy conditions. We’ve tested these in real-world conditions. Again, proper installation is key – that’s why we have our How to Install guide.
"It will make my helmet hot." While any accessory adds a layer, our brims are designed to work with your helmet's ventilation, not block it. They primarily shade your face and neck, which actually helps reduce the heat you feel from direct sun on your skin. The helmet itself is still ventilated.
"Sunscreen is enough." As discussed, sunscreen is a vital part of your sun protection strategy, but it’s not foolproof. It needs reapplication, it can be washed or sweated off, and it’s easy to miss spots. A brim provides a constant, physical barrier. It’s about layered protection, not relying on just one method.
- I don't ride in the middle of the day." Great! But even morning or late afternoon sun can be intense, especially as it sits lower and can be more direct on your face. Plus, depending on your route, you might encounter hours of direct sun exposure. Australia’s UV is relentless.
Your Health Matters: Invest in Protection
Cycling in Australia is fantastic. The scenery, the freedom, the fitness benefits – it’s all worth it. But doing it safely means being aware of all the risks, including UV exposure. Your skin is with you for life. Protecting it now is an investment you won't regret.
Don't leave your sun protection to chance. Enhance your helmet, enhance your protection. Explore our range of Products designed specifically to give you the shade you need.
Got more questions? Our FAQ page has answers. Or go back to our Blog for more tips on cycling and safety.
Ride smart. Ride protected.