Conquer Multi-Pitch Climbs: Smarter Sun Protection for Your Helmet
Don't let harsh Australian sun cut your multi-pitch ascents short. Learn how to maximise helmet sun protection and stay focused on the rock, not the burn.
Conquer Multi-Pitch Climbs: Smarter Sun Protection for Your Helmet
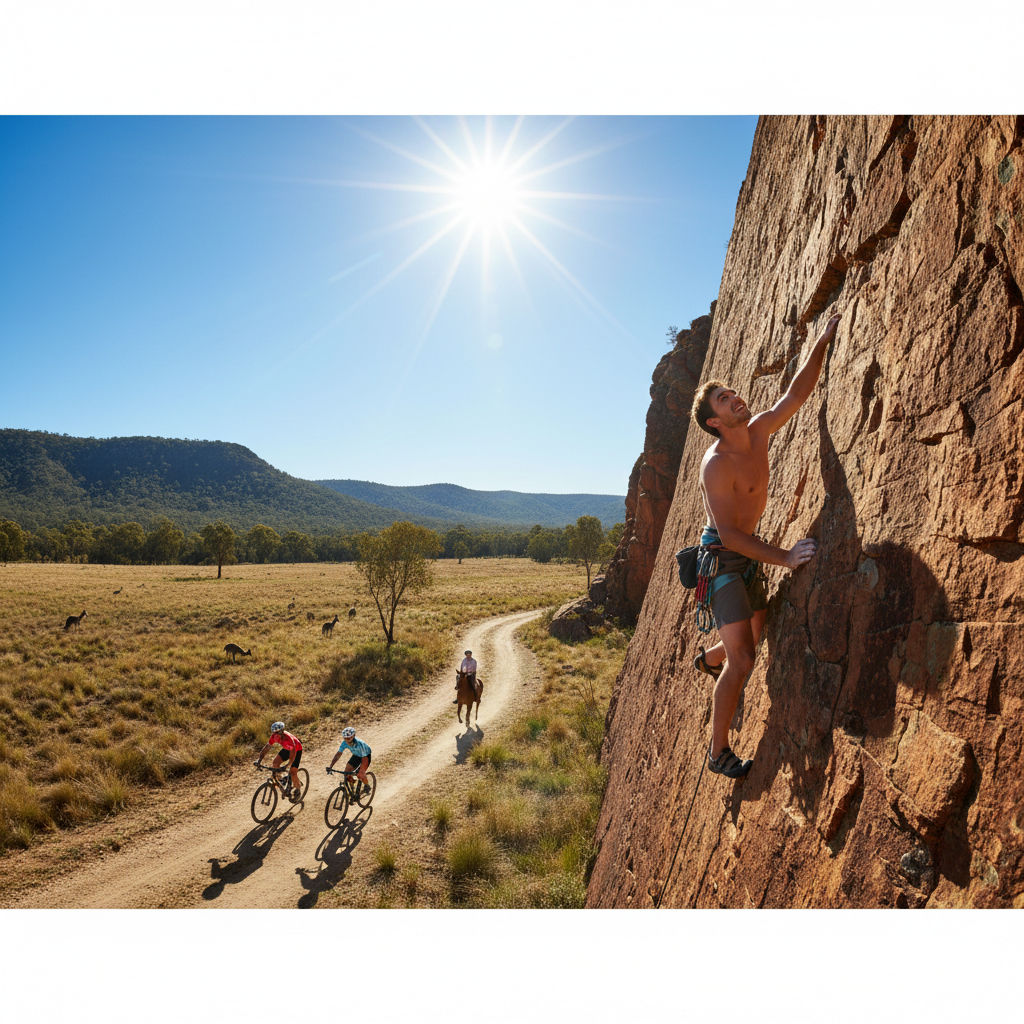
Multi-pitch climbing in Australia is a serious business. The freedom of ascending vast faces, the exposure, the sheer effort – it’s what we live for. But let’s be frank: so is the sun. And in Australia, that sun isn't messing around. Long days mean prolonged exposure, and climbing means your head is often the most exposed part of you to direct overhead UV radiation. Forget sunburned shoulders for a minute; we're talking about the persistent, baked-on feeling on your scalp, neck, and even the back of your ears, directly under your climbing helmet.
Your climbing helmet is designed for impact protection. It’s not typically designed for serious sun protection. The ventilation holes, while vital for comfort in heat, are also direct pathways for UV to reach you. This isn't just about discomfort; prolonged sun exposure can lead to heatstroke, dehydration, and long-term skin damage. On a multi-pitch climb, where you're committed and moving upwards for hours, this is a significant risk.
So, how do you best protect yourself from that relentless Australian sun when you're glued to the rock face? It's time to get practical and upgrade your helmet's sun protection capabilities.
The Problem: Helmet Ventilation vs. Sun Exposure
Climbing helmets are engineered with ventilation ports for a reason. When you’re exerting yourself, especially in the heat common across much of Australia, these holes are crucial for preventing overheating. However, these very same ports become entry points for intense UV rays. The result? Sunburn on your scalp, a baked neck, and increased risk of heat-related issues. Imagine trying to focus on your next move when you’re feeling woozy from the heat or your scalp is screaming.
Australian Conditions: A Reality Check
We all know Australia has a reputation for its sun. High UV Index readings are common, even on cloudy days. Long climbing days, especially during warmer months or in popular climbing areas, mean extended periods where your helmet offers little more than a target for the sun’s rays. The cumulative effect of this daily exposure, week after week, year after year, is what we need to guard against.
Simple Solutions, Serious Impact
You don't need to ditch your helmet or abandon your climbs. The key is to augment your existing gear with sensible sun protection strategies. This isn't about bulky, impractical additions – it's about smart, targeted enhancements.
1. The "Under-Helmet" Approach (and its limitations)
Many climbers opt for a bandana, buff, or lightweight cap under their helmet. This offers some layer of protection, but it's often not enough for multi-pitch scenarios:
Sweat Management: Buffs can get soaked with sweat, making them uncomfortable and less effective as a barrier. They can also trap heat.
Coverage Gaps: Most buffs or bandanas don't adequately cover the back of the neck or the ears, which are prime targets for sunburn.
Sun Bleeding: Sunlight can still find its way through the helmet’s vents and reflect off the inner surfaces, hitting exposed skin.
While better than nothing, this method often falls short, especially when the sun is high and you’re exposed for extended periods.
2. The "Add-On" Approach: The Brim Extension
This is where things get serious. Think of it like adding a brim to a baseball cap. A well-designed helmet brim extension is specifically engineered to create shade.
Direct Shade: It casts a shadow directly over your face, eyes, and forehead, reducing glare and sunburn on your most sensitive areas.
Neck Coverage: Many designs extend downwards, providing crucial shade for your neck and ears. This is often the part of you that gets the worst of it on a long climb.
Minimal Interference: Designed to attach securely without impeding your vision or helmet’s primary function, it’s a practical, lightweight upgrade. You can install your Da Brim helmet brim in minutes.
When choosing an extension, look for something that is:
Durable: It needs to withstand the rigours of climbing.
Lightweight: You don’t want extra weight on your head.
Secure: It must stay attached, even in wind or upside down.
Compatibile: It needs to fit your specific helmet model.
Your Multi-Pitch Sun Protection Checklist
Before you head to the crag for that multi-pitch epic, run through this quick checklist. It’s designed to be practical and address the specific challenges of long days in Australian sun.
[ ] Helmet Check: Is your helmet in good condition, with no cracks or significant wear? Does it fit correctly?
[ ] Brim Extension: Do you have a helmet brim extension? Is it securely attached and in good repair? (Consider exploring our products for options).
[ ] Neck Protection: Does your brim extension adequately cover your neck? If not, consider a long-sleeve shirt with a high collar or a neck gaiter (though ensure it doesn't trap too much heat).
[ ] Eye Protection: While the brim helps, sunglasses are still essential for direct glare. Ensure they fit comfortably with your helmet straps.
[ ] Sunscreen: Apply broad-spectrum, high SPF sunscreen to any exposed skin before you start climbing and reapply as needed (though this is tricky at height).
[ ] Hydration: Carry plenty of water. Dehydration exacerbates the effects of sun exposure and heat.
[ ] Know Your Limits: Be aware of the UV Index and the weather forecast. Don't push it on days with extreme heat and high UV.
Installing Your Sun Protection: A Step-by-Step Guide
Adding a brim extension is straightforward. We’ve designed ours for ease of use because when you’re ready for a climb, you want to be climbing, not fiddling with gear.
Step 1: Prepare Your Helmet
Ensure your helmet is clean and dry. This helps the attachment mechanism (whether it's Velcro, clips, or another system) get the best grip.
Familiarise yourself with the attachment points on your helmet. Most modern climbing helmets have specific areas designed for accessories, or a smooth surface that works well.
Step 2: Attach the Brim Extension
Follow the specific instructions for your brim model. For our Da Brim helmet brims, this typically involves aligning the brim with the front of your helmet and securing it using the provided attachment system.
For systems using Velcro, ensure the Velcro strips on the brim are correctly positioned against the corresponding strips on your helmet. Press firmly to ensure a good bond.
For clip-based systems, ensure each clip is properly engaged with the helmet’s rim or designated attachment points.
Step 3: Test the Fit and Security
Once attached, gently try to wiggle the brim extension. It should feel solid and not shift easily.
Put your helmet on and check your field of vision. The brim should provide shade without obstructing your view of the rock or your surroundings.
Adjust as needed. Most good designs allow for some minor positional adjustments.
That’s it. You’ve significantly increased your comfort and sun protection in just a few minutes. For a more detailed explanation, you can always refer to our how to install page.
Addressing Common Objections
We hear the concerns. Adding something to your helmet can feel like a compromise. Let's address them head-on:
"Will it make my helmet feel heavier?"
Our brim extensions are designed to be ultra-lightweight. The weight is negligible and far outweighed by the benefits of reduced sun exposure and improved comfort. You’ll notice the shade far more than the minuscule weight increase.
"Will it get caught on things?"
This is a valid concern in thick bush or when moving through tight spaces. However, our brims are designed with a profile that minimises snagging. They are much lower profile than, say, a wide-brimmed hat. For multi-pitch, the primary risk is falling debris or rocks, not snagging on the rock face itself. We’ve prioritised secure attachment and a streamlined design.
"Will it affect my vision?"
Properly installed, the brim extension should provide shade without hindering your primary field of vision. It’s designed to shade your face and eyes, which is precisely what you want. A quick test run after installation is always recommended.
"Is it really necessary? My helmet has vents!"
Yes, your helmet has vents for cooling, but as we’ve discussed, this is a double-edged sword in intense Australian UV. Those vents are direct lines to your scalp and face. On long multi-pitch days, the cumulative effect of direct sun exposure through these vents is significant and can lead to severe sunburn and heat stress. The brim extension is about adding* protection, not replacing the helmet's core function.
"I just wear a buff. Isn't that enough?"
As outlined earlier, a buff offers limited protection. It can get saturated with sweat, offer incomplete coverage (especially the neck), and doesn't create a significant shade barrier like a brim. On a multi-pitch climb where you're exposed for hours on end, it’s simply not sufficient for peak Australian conditions.
The Long Game: Sun Protection for Years of Climbing
Protecting yourself from the sun isn't just about avoiding a painful sunburn today. It's about preserving your skin and your ability to enjoy climbing for years to come. Skin cancer is a serious risk, and cumulative UV damage is a primary cause. By taking simple, practical steps now to improve your helmet’s sun protection, you’re investing in your long-term health and your continued access to the vertical world.
Don’t let the Australian sun dictate the length or enjoyment of your multi-pitch adventures. A smart helmet brim extension is a small investment for a huge return in comfort, safety, and longevity on the rock. Explore our products and FAQs for more information, and happy climbing!
For more tips and updates, check out our blog.