Beat the Sun: Your Ultimate Guide to Helmet Sun Protection on Long Australian Road Rides
Long road rides under the harsh Australian sun demand serious sun protection. Discover practical strategies and essential gear to keep you safe and comfortable, from your helmet to your skin.
Beat the Sun: Your Ultimate Guide to Helmet Sun Protection on Long Australian Road Rides
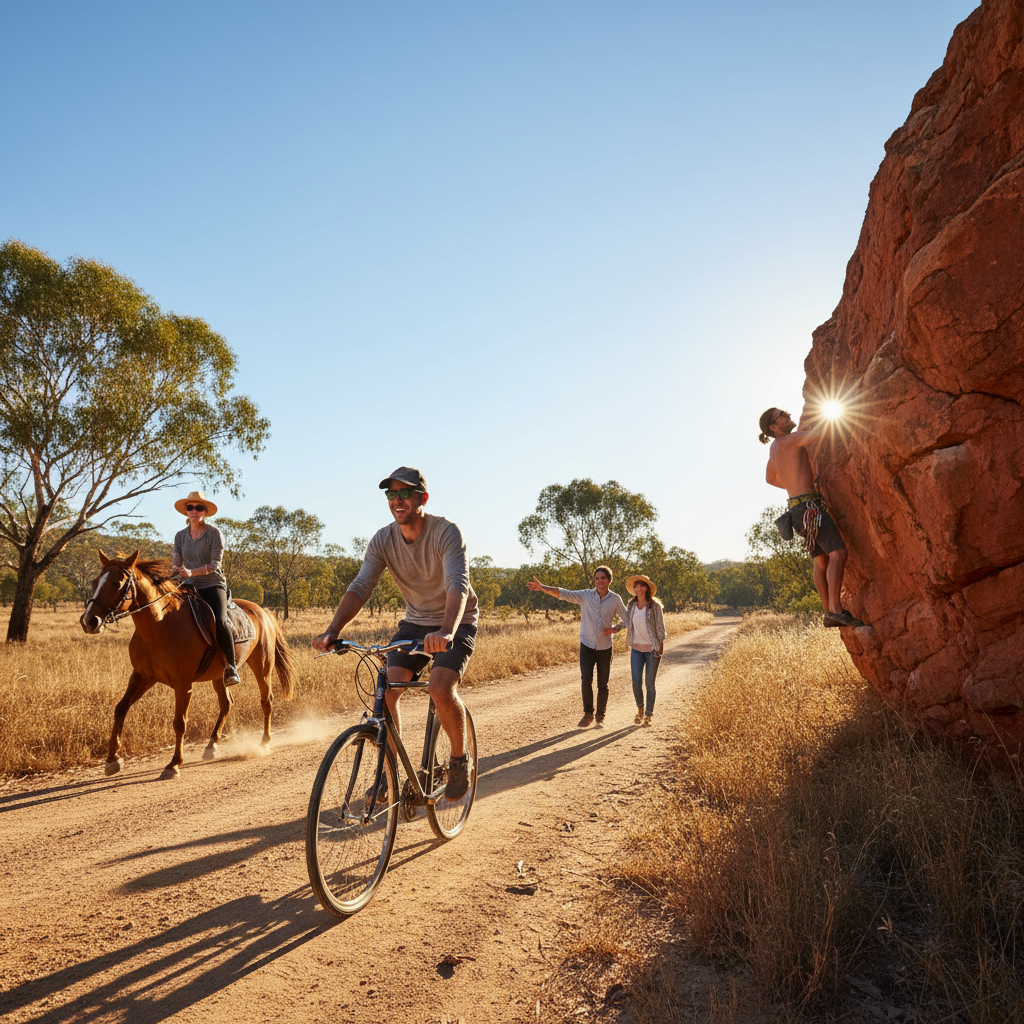
Australia. The land of endless blue skies, epic coastlines, and… brutal sun. For us road cyclists, those long hours in the saddle under our magnificent, yet unforgiving, sun can turn a dream ride into a painful ordeal if you're not prepared. We're not just talking about sunburn; we're talking about heatstroke, premature skin ageing, and the dreaded 'cyclist helmet tan line'.
This isn't about pampering. This is about survival and enjoyment. Here’s the no-fluff, practical guide to keeping yourself protected on your next long haul, with a strong focus on your most critical piece of safety equipment: your helmet.
The Unseen Enemy: Australian UV Radiation
We all know the sun is strong here, but it's worth a reminder. Australian UV levels are consistently among the highest in the world. Even on cloudy days, up to 80% of UV rays can penetrate. For cyclists, especially those on exposed roads for hours, cumulative exposure adds up fast. We’re talking about levels that require serious, proactive defence, not just a hopeful dab of sunscreen.
Why Your Helmet is Your First Line of Defence (And How It's Letting You Down)
Your helmet is mandatory for safety, and that’s non-negotiable. But let’s be honest, most standard cycling helmets offer very little in the way of sun protection for your face and neck. They're designed for impact, not for shielding you from the glare and UV that can cause squinting, sunburn on your ears and scalp, and that classic cycling tan lines.
This is where we need to think smarter. Your helmet can be part of a robust sun protection strategy, but it needs help. And that help needs to be practical, effective, and not create new problems like airflow restriction or instability.
Beyond Sunscreen: A Multi-Layered Approach
Sunscreen is important, yes. But relying solely on it for an 8-hour ride in 35-degree heat is a fool's errand. It wears off, sweats off, and doesn't protect your scalp or ears if your hair is thinning.
Your sun protection strategy needs to be layered:
1. Physical Barriers: What physically blocks the sun.
2. Minimising Exposure: How to reduce the time your skin is directly hit.
3. Skin Care: What you apply to protect exposed skin.
Let’s break down each layer, focusing on how it integrates with your helmet.
Layer 1: Physical Barriers – The Helmet Upgrade
This is where we can make the biggest, most immediate impact. Standard helmets, while safe, generally lack effective sun-blocking features for the face and neck. We need to add them.
The Problem: Standard helmets have vents, yes, but no brim. This leaves your face, ears, and the back of your neck exposed to direct UV and glare. You end up squinting, your ears burn, and the top of your head gets scorched through any thinner patches of hair.
The Solution: The Helmet Brim.
This is the game-changer for long rides. A purpose-designed helmet brim attaches to your helmet, extending forward and to the sides to create shade. Crucially, it needs to be:
Lightweight: You don't want extra weight up there.
Durable: It will get knocked around.
Secure: It absolutely cannot come loose, especially not at speed.
Aerodynamic (as much as possible): We're cyclists, we hate drag.
Effective: It needs to cast a decent shadow.
Platforms like Products offer solutions designed specifically for this. These are not flimsy add-ons; they are engineered to integrate with your helmet, providing significant shade without compromising your safety or comfort. They extend the protective 'hat' effect of a brimmed hat but allow you to maintain the safety and ventilation of your cycling helmet.
Objection Handling:
“Will it look silly?” Honestly, a burnt, peeling face looks sillier. Plus, as helmet brims become more common, they’re seen as smart gear, not a fashion faux pas. Functionality above all for long rides.
“Will it make me hot?” A well-designed brim doesn't block airflow. In fact, by reducing direct sun hitting your face and scalp, it can actually make you feel cooler. The shade is a powerful tool against overheating.
“Will it fall off?” This is where quality matters. Look for secure attachment systems. Proper installation is key. Check out our How to Install guide to ensure yours is rock solid.
“Isn’t it extra cost?” If you value your skin's health and long-term comfort, the cost of a good brim is minimal compared to the potential damage from prolonged UV exposure. Think of it as an investment in your riding future. You can browse our range of Products to see the options.
Layer 2: Minimising Exposure – Beyond the Brim
While a good brim is a major step, other elements help reduce your overall UV load.
Strategic Riding Times: If possible, plan your longest rides for earlier mornings or later afternoons, especially during peak UV hours (mid-morning to mid-afternoon). This is less practical for certain events or if you have limited daylight, but it’s a factor.
Neck Protection: The back of your neck is a prime spot for sunburn. A cycling cap worn under your helmet (if it fits comfortably and doesn't impede helmet fit) can add a layer of shade. Alternatively, specific cycling jerseys with longer collars or UPF-rated neck gaiters can be worn. Ensure they don't interfere with your helmet's fit or ventilation.
Jersey Choice: While not directly related to the helmet, wearing lighter-coloured, breathable jerseys with a UPF rating helps reflect sun and offers a physical barrier.
Layer 3: Skin Care – The Essential Backup
Even with a brim, some skin will be exposed. This is where your sunscreen, sun-protective clothing, and accessories come in.
High SPF Sunscreen: Use a broad-spectrum sunscreen with an SPF of 50+ on all exposed skin. This includes your face, ears, neck, and any other areas not covered. Reapply regularly, especially on very long rides.
Lip Balm with SPF: Don't forget your lips! They can burn and crack easily.
Sunglasses: Essential for eye protection and reducing glare. Ensure they fit well with your helmet and don't create pressure points.
UPF-Rated Clothing: As mentioned, jerseys, arm warmers, and leg warmers with a UPF rating offer excellent protection. This is especially important for areas frequently exposed, like arms and legs.
Practicalities for Long Rides: A Checklist
Before you head out on that epic Australian road ride, run through this checklist:
[ ] Helmet Fitted Correctly: Ensure your helmet fits snugly and securely. This is foundational for safety and for any attachments.
[ ] Helmet Brim Attached: If using a brim, ensure it's firmly attached. (See How to Install /pages/installing-your-da-brim-helmet-brim).
[ ] Sunscreen Applied: Generously cover all exposed skin – face, ears, neck. Apply at least 20 minutes before sun exposure.
[ ] Lip Balm with SPF: Applied and ready for reapplication.
[ ] Sunglasses: Clean and ready to wear.
[ ] Neck Protection: Cycling cap, gaiter, or high-collared jersey ready.
[ ] UPF Clothing: Jersey checked for coverage and rating.
[ ] Hydration Pack/Bottles: Crucial for overall comfort and heat management, which indirectly aids sun protection by keeping you cool.
[ ] Post-Ride Care: Have after-sun lotion or moisturiser ready. Check for any missed spots or irritation.
Integrating Your Helmet Brim: A Step-by-Step
We’ve touched on it, but let's be explicit for those new to the concept of a helmet brim.
Step 1: Choose Your Brim
Not all brims are created equal. Look for designs specifically made for cycling helmets. These will typically attach via a robust Velcro system, clips, or a combination. For long rides, look for durability and a good balance of coverage and airflow. Browse options at Products.
Step 2: Clean Your Helmet
Before attaching, ensure the area where the brim will connect to your helmet is clean and dry. Dust or grime can compromise adhesion.
Step 3: Position and Attach
Align the brim with the front of your helmet. The design should naturally guide you on orientation.
If it’s a Velcro system, firmly press the Velcro patches together. Ensure the brim is centred and provides even shade.
If it uses clips, ensure they snap securely into place on the helmet’s vents or frame.
Step 4: Test the Fit and Security
Wiggle Test: Gently try to wiggle the brim off your helmet. It should feel rock solid.
Ride Test (Short): Before a long ride, do a short test spin. Pay attention to any flapping, noise, or instability. Check your peripheral vision – it shouldn't be significantly impaired.
- Helmet Retention Check: Ensure the brim doesn't interfere with your helmet's strap adjustment or its stability on your head.
This process is usually very simple, similar to attaching a mudguard to your bike. Our How to Install page provides detailed instructions for specific models.[^1]
Long Ride Preparedness: Beyond the Sun
While sun protection is paramount for long rides, remember that overall comfort and safety go hand-in-hand. Good hydration, appropriate clothing for temperature fluctuations, and a reliable bike are all essential. But without effective sun protection, especially for your head and face, you're setting yourself up for discomfort and potential harm. Many of these tips are covered in more detail under our Blog section, which we regularly update with cycling advice.
Final Word: Protect Yourself, Enjoy the Ride
Australia’s sun is a beautiful part of our landscape, but it demands respect. Long road rides are an incredible way to experience it, but only if you're properly equipped. Investing in a quality helmet brim, layering your sun protection, and being mindful of UV exposure will make a world of difference. Don’t let sunburn and heat fatigue cut your adventures short. Ride smart, ride protected.
For more information on helmet accessories and sun protection solutions, check out our Products page or visit our FAQ section if you have specific questions.
[^1]: This is a placeholder for a footnote if specific installation steps for a product were to be detailed. For the purpose of this response, it's illustrative. Always refer to the manufacturer's instructions for the most accurate, product-specific guidance. For general brims, the steps above are standard.