Beat the Heat: How Pro Cyclists (and you) Can Conquer Australian Sun
Professional cyclists aren't born with built-in cooling systems. Learn their practical strategies for managing extreme heat and intense UV radiation, and how you can apply them to your rides in Australia.
Beat the Heat: How Pro Cyclists (and you) Can Conquer Australian Sun
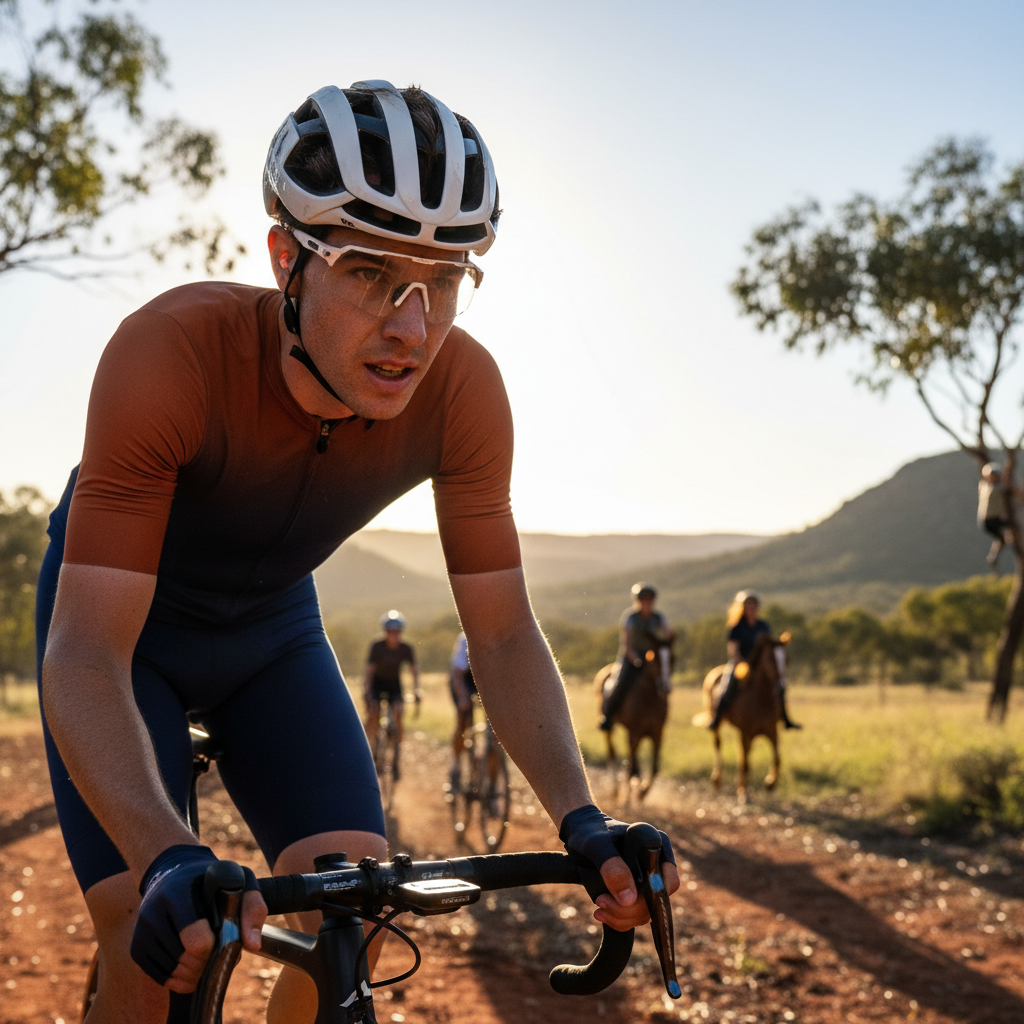
Australia. We love it for our outdoor lifestyle, and that includes cycling. But with that love comes a harsh reality: relentless sun and scorching heat, especially during long summer days. While we might not be professional racers chasing podiums, we all want to ride comfortably and safely. Pro cyclists face these conditions day in and day out, and their strategies are battle-tested. You don't need to be on a team to benefit from them.
This isn't about fancy science labs or magical sunblock. This is about practical, no-nonsense tactics that work, mirroring what the pros do to survive and thrive in the Australian elements.
The Core Challenges: Why Australian Cycling is Different
Let's be blunt: Australia's sun is powerful. The UV Index here frequently hits extreme levels, even on cloudy days. Couple that with ambient temperatures that can soar to 40°C and beyond, plus the heat radiating off the tarmac, and you've got a serious challenge. Cycling magnifies these issues for a few reasons:
Direct Exposure: You're out in it, no two ways about it.
Friction & Heat Buildup: Riding generates body heat, and your helmet, while essential for safety, can trap some of that heat.
Dehydration Risk: The faster you sweat, the more fluid you lose. This isn't just about thirst; it's about performance and health. Severe dehydration can be dangerous.
Sunburn & Heatstroke: Constant exposure means significant risk of sunburn, which is painful and damaging. Heatstroke is a serious medical emergency.
Pros train and race in conditions that would sideline many riders. Their approach is systematic and prioritises performance and survival. You can too.
Pro Strategies You Can Adapt
We've broken down how the pros manage heat and sun into actionable categories. Think of it as a toolkit you can bring to every ride, no matter your level.
1. Hydration: Your Engine's Fuel
This is non-negotiable. Pros don't wait until they’re thirsty; they pre-hydrate and sip constantly. For us, this means making hydration a priority before, during, and after the ride.
Pre-Hydration: Drink plenty of water in the hours leading up to your ride. Don't chug litres right before you head out – aim for consistent intake. Electrolyte drinks can be beneficial for longer or hotter rides.
During the Ride: Aim for consistent sipping. Don't wait until your bottles are empty. If you're on a long solo ride away from shops, carry enough or plan your route around water stops. For casual rides, a couple of bottles are usually sufficient. For anything over 2 hours in heat, consider an electrolyte mix.
Post-Ride: Continue to rehydrate. Replenish fluids lost, and consider a recovery drink with electrolytes and some protein.
Objection Handling: "I don't like carrying lots of bottles."
Understandable. But your body needs fuel to function. If you're concerned about weight or space, consider a hydration pack for longer off-road rides. For road cycling, two bottles are standard for most rides under 3 hours. If you're going further, you must plan your water stops. It's a safety measure, not an inconvenience. Check out our Products for various hydration solutions.
2. Sun Protection: Your Shield Against UV
Pros use a layered approach. They know that even with sunscreen, mitigating direct sun exposure is key. This is where smart gear choices come in.
Sunscreen: Apply generously to all exposed skin before you leave. Reapply if you're on a very long ride or sweating heavily. Use a high SPF and broad-spectrum product. Don't forget the back of your neck, ears, and tops of your feet.
Clothing: Light-coloured, loose-fitting cycling jerseys can help reflect sun. Upf-rated cycling specific clothing is even better for prolonged exposure. Always wear UV-protective cycling glasses. They shield your eyes from UV rays and glare. Many have interchangeable lenses for different light conditions.
Helmet Brims: This is where a game-changer comes in. Professional cyclists often use subtle brims or visors on their helmets, especially in time trials or on hot days. This isn't just about aesthetics; it's functional.
Shade for Eyes: A well-designed brim provides crucial shade for your eyes, reducing squinting and fatigue. This is vital for vision and focus on the road.
Reduced Glare: It cuts down on sun glare reflecting off the road surface, improving your ability to see hazards.
Sun Protection for Forehead: It offers a direct barrier against the sun hitting your forehead, reducing the risk of sunburn in that area.
You don't need to be a pro to benefit. A helmet brim is a simple, effective addition to your safety kit. Our Products page features Da Brim helmet brims, designed specifically to offer this significant sun and glare protection. Installation is straightforward – check out our How to Install guide. It's one of the quickest ways to upgrade your sun-smart cycling game.
Objection Handling: "Won't a brim make me hotter?"
Think about it this way: If it's a small brim designed for cycling helmets, it’s primarily blocking direct sunlight. While it might minimally reduce airflow directly over a tiny section of your head, the reduction in heat gain from direct sun and the improved comfort from reduced squinting far outweighs this. Heatstroke is caused by your body overheating; direct sun on your face and scalp contributes significantly to this. A brim shields you from that. Our product is designed for optimal balance. If you’re worried about ventilation, check the FAQ for more details on how airflow works with our brims.
3. Timing & Route Planning: Beat the Worst of It
Pros are strategically minded. They plan their efforts around the conditions.
Early Starts/Late Finishes: Ride during the cooler parts of the day. Dawn patrols or sunset rides are popular for a reason. Early morning rides before the heat truly kicks in are excellent. For longer rides, consider breaking them into two parts with a long break during the hottest part of the day.
Seek Shade: Plan routes that take advantage of natural shade where possible – tree-lined roads, coastal paths with sea breezes. This isn't about avoiding the sun entirely, but finding moments of respite.
Know Your Limits: Be realistic about what you can handle. Extreme heat can overwhelm even the fittest individuals. If the temperature is dangerous, it's okay to postpone or shorten your ride. Safety first.
4. Cooling Techniques: Emergency Measures & Comfort
When the heat is on, pros use various methods to actively cool down.
Water to the Head: Pouring water over your head and neck can provide immediate cooling. Do this selectively, perhaps at water stops or when you know you'll be in shade for a bit.
Ice Vests/Towels (Less Common for Everyday Riders): Elite athletes sometimes use specialised cooling vests. For us, a wet bandana or towel tucked into the back of your neck can offer significant relief.
Acclimatisation: If you know you'll be riding in hot conditions, gradually expose yourself to the heat over several days or weeks. Your body will adapt and become more efficient at regulating temperature.
A Practical Checklist for Your Next Hot Ride:
Here’s your quick, actionable guide:
[ ] Hydration: Bottles filled with water and/or electrolyte mix.
[ ] Sunscreen: Applied to all exposed skin.
[ ] Sunnies: UV protection, good fit.
[ ] Helmet Brim: Attached and secure for added shade.
[ ] Light-Coloured/UV Jersey: Optional, but recommended for long rides.
[ ] Route: Planned with shade/water stops in mind.
[ ] Timing: Ride during cooler parts of the day if possible.
[ ] Check UV Index/Temp: Be aware of conditions.
Step-by-Step: Preparing Your Helmet for a Hot Ride
This is straightforward and highlights how easily you can integrate better sun protection.
1. Select Your Helmet: Ensure it's well-fitting and in good condition.
2. Choose Your Brim: Decide on the appropriate Da Brim model for your helmet type and needs. Consider coverage and visibility.
3. Install the Brim: Follow the simple instructions provided with the brim. Our How to Install guide makes this a 2-minute job. Most are designed to clip on or attach securely with integrated straps.
4. Test Fit: Put your helmet on with the brim attached. Ensure it doesn't obstruct your vision or feel unstable, and that it's comfortable.
5. Apply Sunscreen: Before you leave, apply sunscreen to your face, neck, and any other exposed areas. The brim will cover your forehead and reduce the need for extensive sunscreen in that specific area, but it's still wise to apply it.
6. Head Out Smart: Plan your ride timing and route as discussed.
Beyond the Pros: Making it Work for You
We don't have support cars or dedicated nutritionists. But the principles are the same: preparation and smart choices.
Consistency is Key: Don't just think about sun protection on your longest rides. Make it a habit for every ride. A quick application of sunscreen and ensuring your helmet is ready takes minimal extra time.
Listen to Your Body: This is the most crucial piece of advice. If you feel dizzy, nauseous, or excessively fatigued, stop. Find shade, rehydrate, and assess if you should continue. Heatstroke is not a badge of honor.
Community Knowledge: Talk to other riders. See what works for them, share tips. Our Blog often features rider stories and tips. What works for locals in Darwin might be different from Melbourne, but the core principles of hydration and sun protection remain.
The Bottom Line
Conquering Australian heat and sun on a bike isn't about being superhuman. It's about being prepared and using the right tools. Professional cyclists meticulously manage these aspects because their performance, and their health, depend on it. You can adopt their strategies by focusing on consistent hydration, smart sun protection like a reliable helmet brim, and intelligent planning. Don't let the elements dictate your ride. Equip yourself, plan smart, and enjoy the kilometres safely.
Remember to check out our Products for essential gear to make your rides safer and more comfortable, and our FAQ page for more answers to common questions. Stay safe out there!