Beat the Glare: What to Look For in a Helmet Sun Protection Accessory
Don't let the harsh Australian sun ruin your ride or work. Discover essential features for helmet sun protection accessories to keep you cool, focused, and safe.
Beat the Glare: What to Look For in a Helmet Sun Protection Accessory
Australia. We love our sunshine, but let's be honest, it's brutal. Especially when you're out there, day in, day out, whether you're on a worksite, hitting the bike trails, or just enjoying an extended outdoor activity. The sun doesn't just mean sunburn; it means glare that blinds you, heat that saps your energy, and long-term damage you can't see.
As a helmet wearer, you've got your head protected from impact. Fantastic. But what about the parts the helmet doesn't cover directly – your face, your neck, your eyes? That's where a good helmet sun protection accessory comes in. But with options out there, what should you actually be looking for? Let's cut through the fluff.
The Problem: The Unforgiving Australian Sun
We experience some of the highest UV radiation levels in the world. That means:
Intense Glare: Direct sunlight, bouncing off surfaces, makes it hard to see. On a worksite, this can lead to critical errors. On a bike, it can lead to accidents. Your eyes are fatigued quickly, impacting concentration and safety.
Heat Build-up: Helmets, by design, can trap heat. Add direct sun on top, and you're looking at serious discomfort, dehydration, and reduced performance. This isn't just about feeling a bit sweaty; it's about heat stress, which is a genuine health risk.
UV Exposure: Even with a helmet on, your face and neck are exposed. Cumulative UV exposure leads to premature aging, sunspots, and significantly increases your risk of skin cancer. Melanoma is a real concern for Australians.
Long Days: Australian days, especially in summer, can be long. That means prolonged exposure to all of the above. A quick trip out might be one thing, but a full day on the job or on the road requires robust protection.
What an Accessory Needs to Do (The Bare Minimum, Plus a Bit More)
At its core, a helmet sun protection accessory needs to provide shade. But to be effective, especially in our conditions, it needs to do more. We're talking about:
Effective Shade: It needs to cast a decent shadow over your face and neck. This isn't just about blocking direct sun; it's about reducing the overall light intensity.
UV Blocking: It needs to actively block harmful UV rays. Not all materials are created equal here.
Durability: It's going onto a helmet, likely undergoing some movement and potentially bumps. It needs to be built tough.
Comfort: If it's uncomfortable, you won't wear it. Especially in the heat, it shouldn't make things worse.
Compatibility: It needs to attach securely to your helmet without damaging it.
Key Features to Inspect: What to Look For
When you're browsing, keep these features in mind. This isn't an exhaustive list of every single feature ever invented, but rather the essential aspects that make a difference.
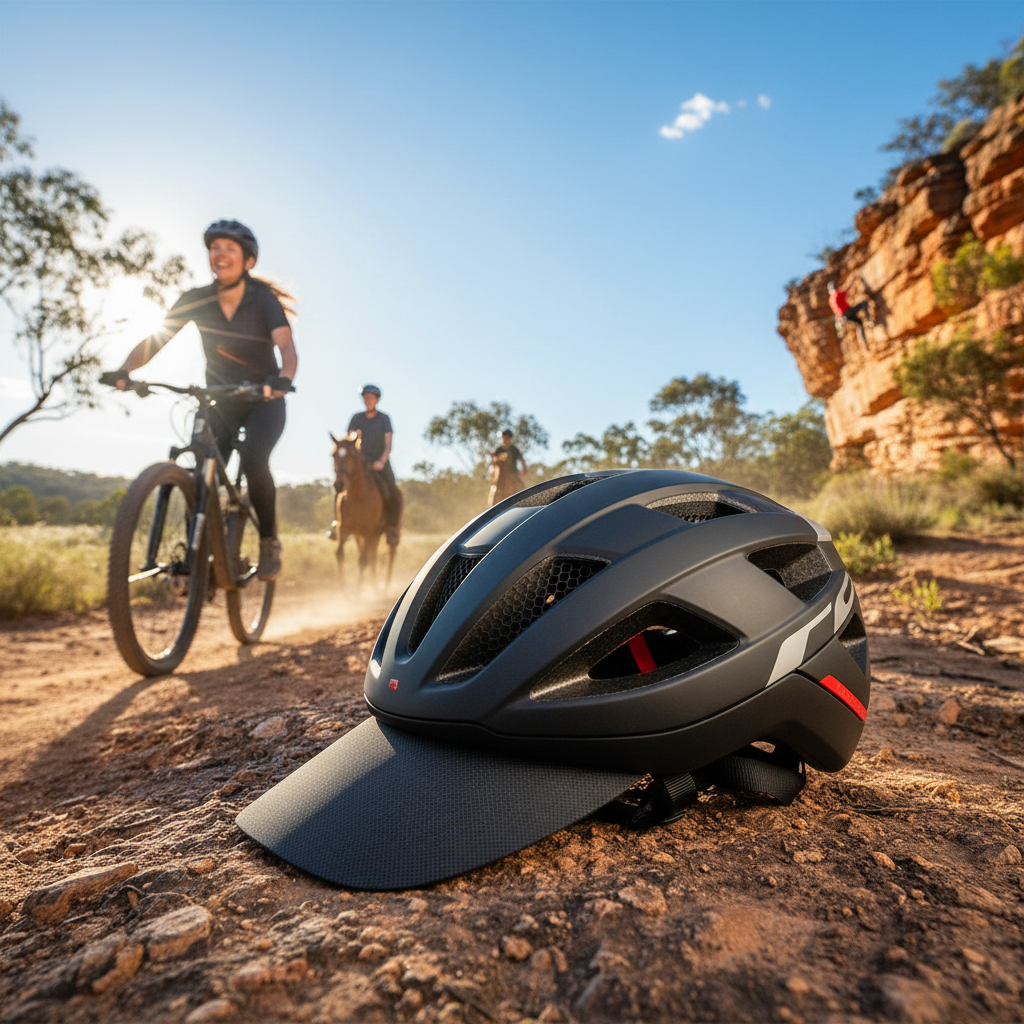
1. Brim Design and Coverage Area
This is the most obvious feature. Think about how much of your face and neck you need covered. Are you looking for a simple peak to stop glare in your eyes, or a more extensive brim that shields your cheeks and the back of your neck? Consider the angle and depth of the brim. A deeper, more angled brim will offer more protection from low-angled sun (morning and late afternoon).
2. Material Quality and UV Protection Rating
This is crucial and often overlooked. A bright colour doesn't automatically mean good UV protection. The material itself needs to be UPF (Ultraviolet Protection Factor) rated. Look for UPF 50+, which blocks over 98% of UV rays. Some materials are inherently better at this than others. Synthetic fabrics like polyester blends, especially when tightly woven, often perform well. Cotton, while breathable, can lose its UPF rating when wet and may not offer as much protection.
3. Ventilation and Airflow
Strap a piece of plastic onto your helmet and you've just created a sweatbox. Good accessories consider airflow. This might mean:
Perforations: Small holes in the brim can allow some air to pass through, reducing heat build-up. However, too many holes can compromise UV protection.
Gap Design: The way the accessory attaches to the helmet can create small channels for air to move.
Material Breathability: The material itself might have some inherent breathability.
This is a balancing act. Maximum shade often means less airflow. You need to find the right compromise for your needs.
4. Attachment System: Secure, Easy, and Non-Damaging
This is where many accessories fall short. It needs to stay on, even when you're moving or hit a bump. But it also needs to be easy to put on and take off, and crucially, not damage your expensive helmet. Look for systems that:
Use robust clips or fasteners.
Distribute pressure evenly, avoiding single stress points on the helmet shell.
Are designed for your specific helmet type (e.g., hard hats vs. cycling helmets).
Are quick to attach/detach. Imagine fumbling with it for five minutes on a hot day – it's not ideal.
5. Durability and Weather Resistance
This accessory will live outdoors, exposed to sun, heat, and potentially rain and dust. It needs to withstand:
UV Degradation: The material shouldn't become brittle or discoloured after prolonged sun exposure.
Physical Abrasion: It will get knocked around on a worksite or in storage.
Washability: It needs to be easy to clean to maintain hygiene and performance.
6. Weight and Bulk
While you want coverage, you don't want something that feels like a sail on your head or adds unnecessary weight, leading to neck strain. A good accessory should be lightweight and streamlined.
Quick Comparison Table: Accessory Types
Here's a simplified look at common accessory types and their pros/cons:
| Accessory Type | Primary Benefit | Potential Downsides | Best For |
|---|---|---|---|
| Detachable Brim | Modular, good coverage, often UPF rated | Can be bulkier, requires secure attachment | Construction, outdoor work, long cycling commutes |
| Full Neck Shade | Maximum neck and lower face coverage | Can be hot, might interfere with visibility | Very high UV exposure, dusty environments, long outdoor work shifts |
| Helmet Visor | Glare reduction, eye protection (if tinted/shaded) | Limited lower face/neck coverage, can fog up | Cycling, some construction roles where impact risk is lower |
| Integrated Brim | Always attached, simple | Fixed coverage, can be less adjustable | General outdoor use, light-duty work |
Note: This is a general guide. Specific product designs will vary significantly.
Objections Handled: "It's Too Much Hassle"
A common excuse is that these accessories are too much effort to attach, too hot, or just unnecessary. Let's break that down:
"It's too much hassle to attach/detach." If it's designed properly, it should take seconds. Look for intuitive, secure attachment systems. If it takes more than 10 seconds, it's probably not designed well for daily use. Many of our solutions are designed for quick on/off. Check out our How to Install guide to see how easy it can be.
"It'll be too hot." This is a valid concern. However, a well-designed accessory with consideration for airflow and made from breathable materials will actually help manage heat better than direct sun beating down on your helmet and head. The shade it provides can make a significant difference to your overall comfort.
"I don't need that much protection." If you spend any significant time outdoors in Australia, you do. The cumulative effects of UV damage and heat stress are serious. It’s about long-term health and short-term focus. What might seem like mild discomfort today can lead to significant health issues tomorrow.
"It will look silly." Functionality often trumps fashion in practical gear. However, many modern accessories are designed to be as unobtrusive and even aesthetically pleasing as possible, while still delivering maximum protection. Investing in your health and safety shouldn't be a point of embarrassment.
How to Choose the Right Accessory: A Step-by-Step Approach
1. Identify Your Primary Use Case: Are you on a construction site, cycling for leisure, commuting, or doing agricultural work? This will dictate the level of protection and durability needed.
2. Assess Your Helmet Type: Is it a hard hat, a cycling helmet, a motorbike helmet? Ensure the accessory is designed to fit your specific helmet style. Universal attachments can be hit-and-miss.
3. Determine Coverage Needs: Do you need just eye protection from glare, or full face and neck coverage? Consider the typical angle of the sun during your activities.
4. Prioritise UPF Rating: Look for UPF 50+ for maximum UV protection for the fabric parts.
5. Check the Attachment Mechanism: Read reviews or look for clear descriptions and images of how it attaches. Does it seem secure? Easy to use?
6. Consider Heat Management: Does the design allow for airflow? Are the materials breathable?
7. Read Reviews: See what other users in similar conditions are saying about durability, comfort, and effectiveness.
8. Check for Australian Standards (where applicable): For some safety gear, specific Australian Standards apply. While often not directly for accessories* like brims, it's a good indicator of a product's seriousness.
Investing in Your Well-being
Choosing the right helmet sun protection accessory isn't about adding bulk; it's about smart, practical protection against the harsh Australian sun. It's about maintaining focus, preventing heat stress, and most importantly, safeguarding your long-term health from dangerous UV radiation.
Don't let the glare or the heat dictate your day. A good accessory ensures you can work or play safely and comfortably under our relentless sun. Explore our range of solutions designed for durability and maximum protection. Visit our Products to find the right fit for your helmet and your needs.
Still have questions? Our FAQ page might have the answers you're looking for.
For more tips and insights on staying safe outdoors, check out our Blog.